Bottom of Sidebar Navigation: Add a Banner Below
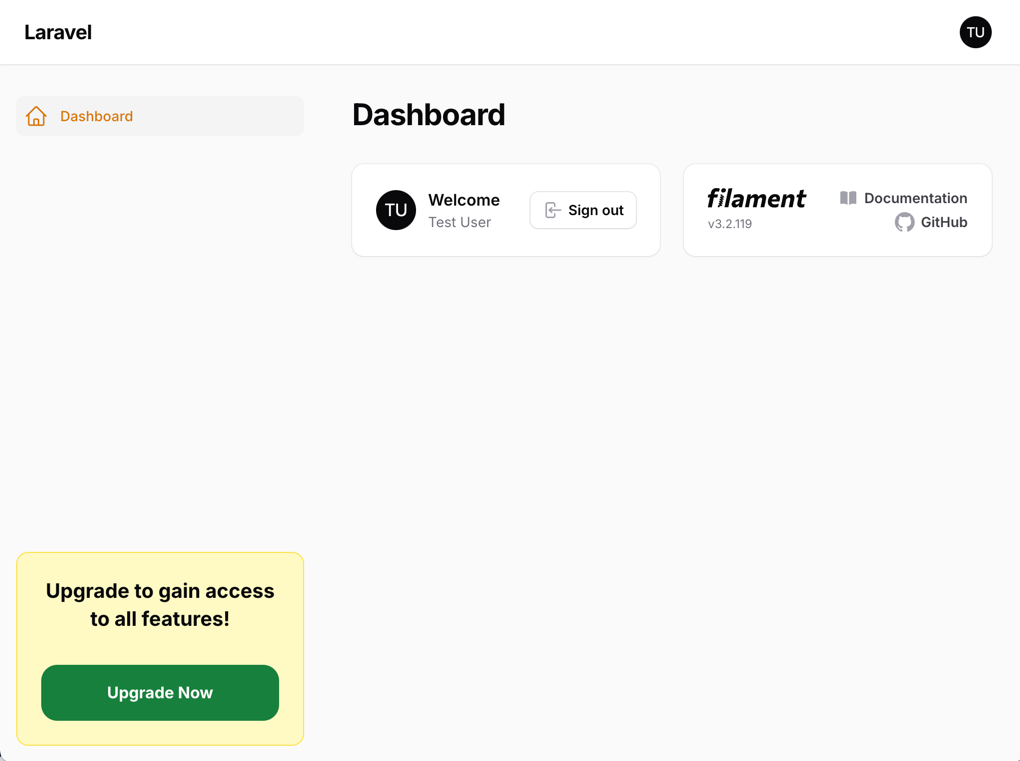
2024-10-23 Filament v3Filament render hooks and custom themes are a great way to add unique elements to your application. In this case, we want to show you how to add a custom Banner at the bottom of the sidebar:
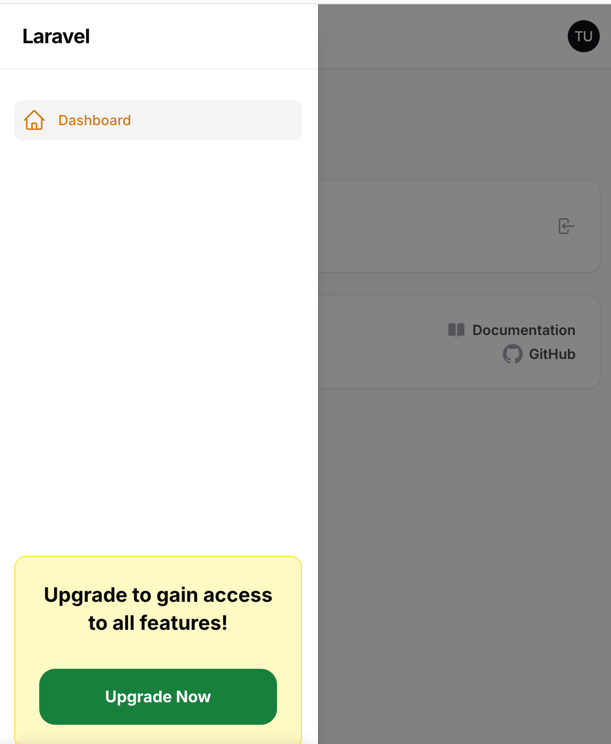
And it works with Mobile navigation too:
Creating New Theme
We must create a new theme for this tutorial since we will override some Filament design elements.
Let's start by running a console command:
php artisan make:filament-themeThis will create new theme scaffolding for us. But we still have to do two things:
First, we need to configure Vite by adding our theme as a source:
vite.config.js
import {defineConfig} from 'vite';import laravel from 'laravel-vite-plugin'; export default defineConfig({ plugins: [ laravel({ input: [ 'resources/css/app.css', 'resources/js/app.js', 'resources/css/filament/admin/theme.css' ], refresh: true, }), ],});Then we have to register our new theme in a PanelProvider:
app/Providers/Filament/AdminPanelProvider.php
return $panel // ... ->viteTheme('resources/css/filament/admin/theme.css');Once we have done that, we can run:
npm run build# Or we can runnpm run devTo either build production assets or watch for changes.
Adding Render Hook to Our Panel
As our first step, we need to add a Render Hook:
app/Providers/Filament/AdminPanelProvider.php
use Filament\View\PanelsRenderHook; // ... return $panel // ... ->renderHook( PanelsRenderHook::SIDEBAR_FOOTER, function () { return view('sidebar.banner'); } ) ->viteTheme('resources/css/filament/admin/theme.css');This will tell our panel to register a view at the sidebar footer. Of course, let's create an empty view file:
resources/views/sidebar/banner.blade.php
<div></div>Designing the Banner
Now that we have our render hook in place, we can start working on the Banner itself:
resources/views/sidebar/banner.blade.php
<div class="promo-banner-wrapper"> <div class="promo-banner"> <div class="banner-text"> Upgrade to gain access to all features! </div> <a href="#" class="banner-button"> Upgrade Now </a> </div></div>But if we try to load it, it will look ugly:
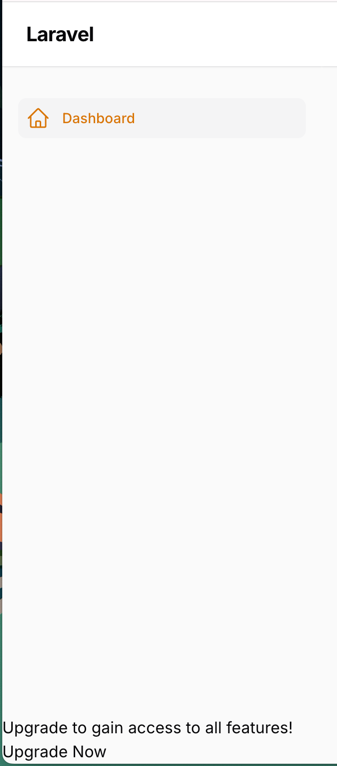
Let's add styling to our theme file:
resources/css/filament/admin/theme.css
@import '/vendor/filament/filament/resources/css/theme.css'; @config 'tailwind.config.js'; .promo-banner-wrapper { @apply p-4} .promo-banner-wrapper > .promo-banner { @apply w-full p-6 bg-yellow-100 rounded-xl border-yellow-300 border overflow-x-hidden} .promo-banner-wrapper > .promo-banner > .banner-text { @apply font-bold text-xl text-center} .promo-banner-wrapper > .promo-banner > .banner-button { @apply bg-green-700 w-full block text-center mt-8 px-2 py-4 rounded-2xl font-bold text-white hover:bg-green-500}Now, if we reload the page (don't forget to run NPM!) - we should see a completely styled banner:

You can modify the layout/styling from here to fit your needs.
A few of our Premium Examples:
