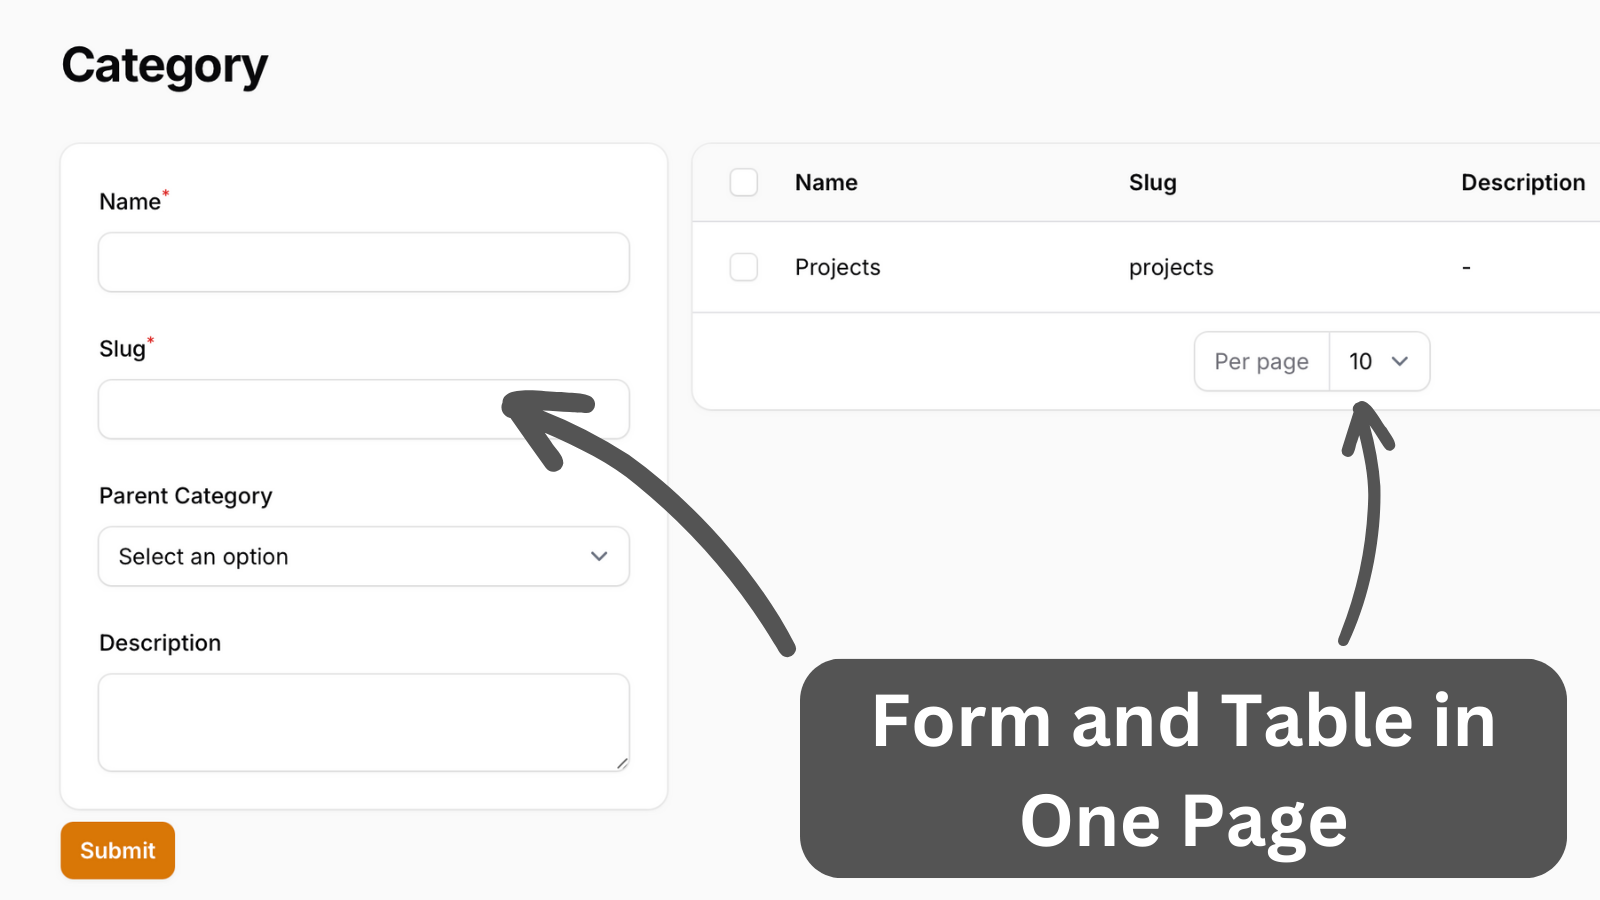
A demonstration of creating a custom page with forms and tables displayed side by side.
Get the Source Code:
Only This Example
One-time payment
 Sign in with GitHub to buy
Sign in first, then complete your $9 checkout.
FilamentExamples Membership
30-day money-back guarantee
How it works
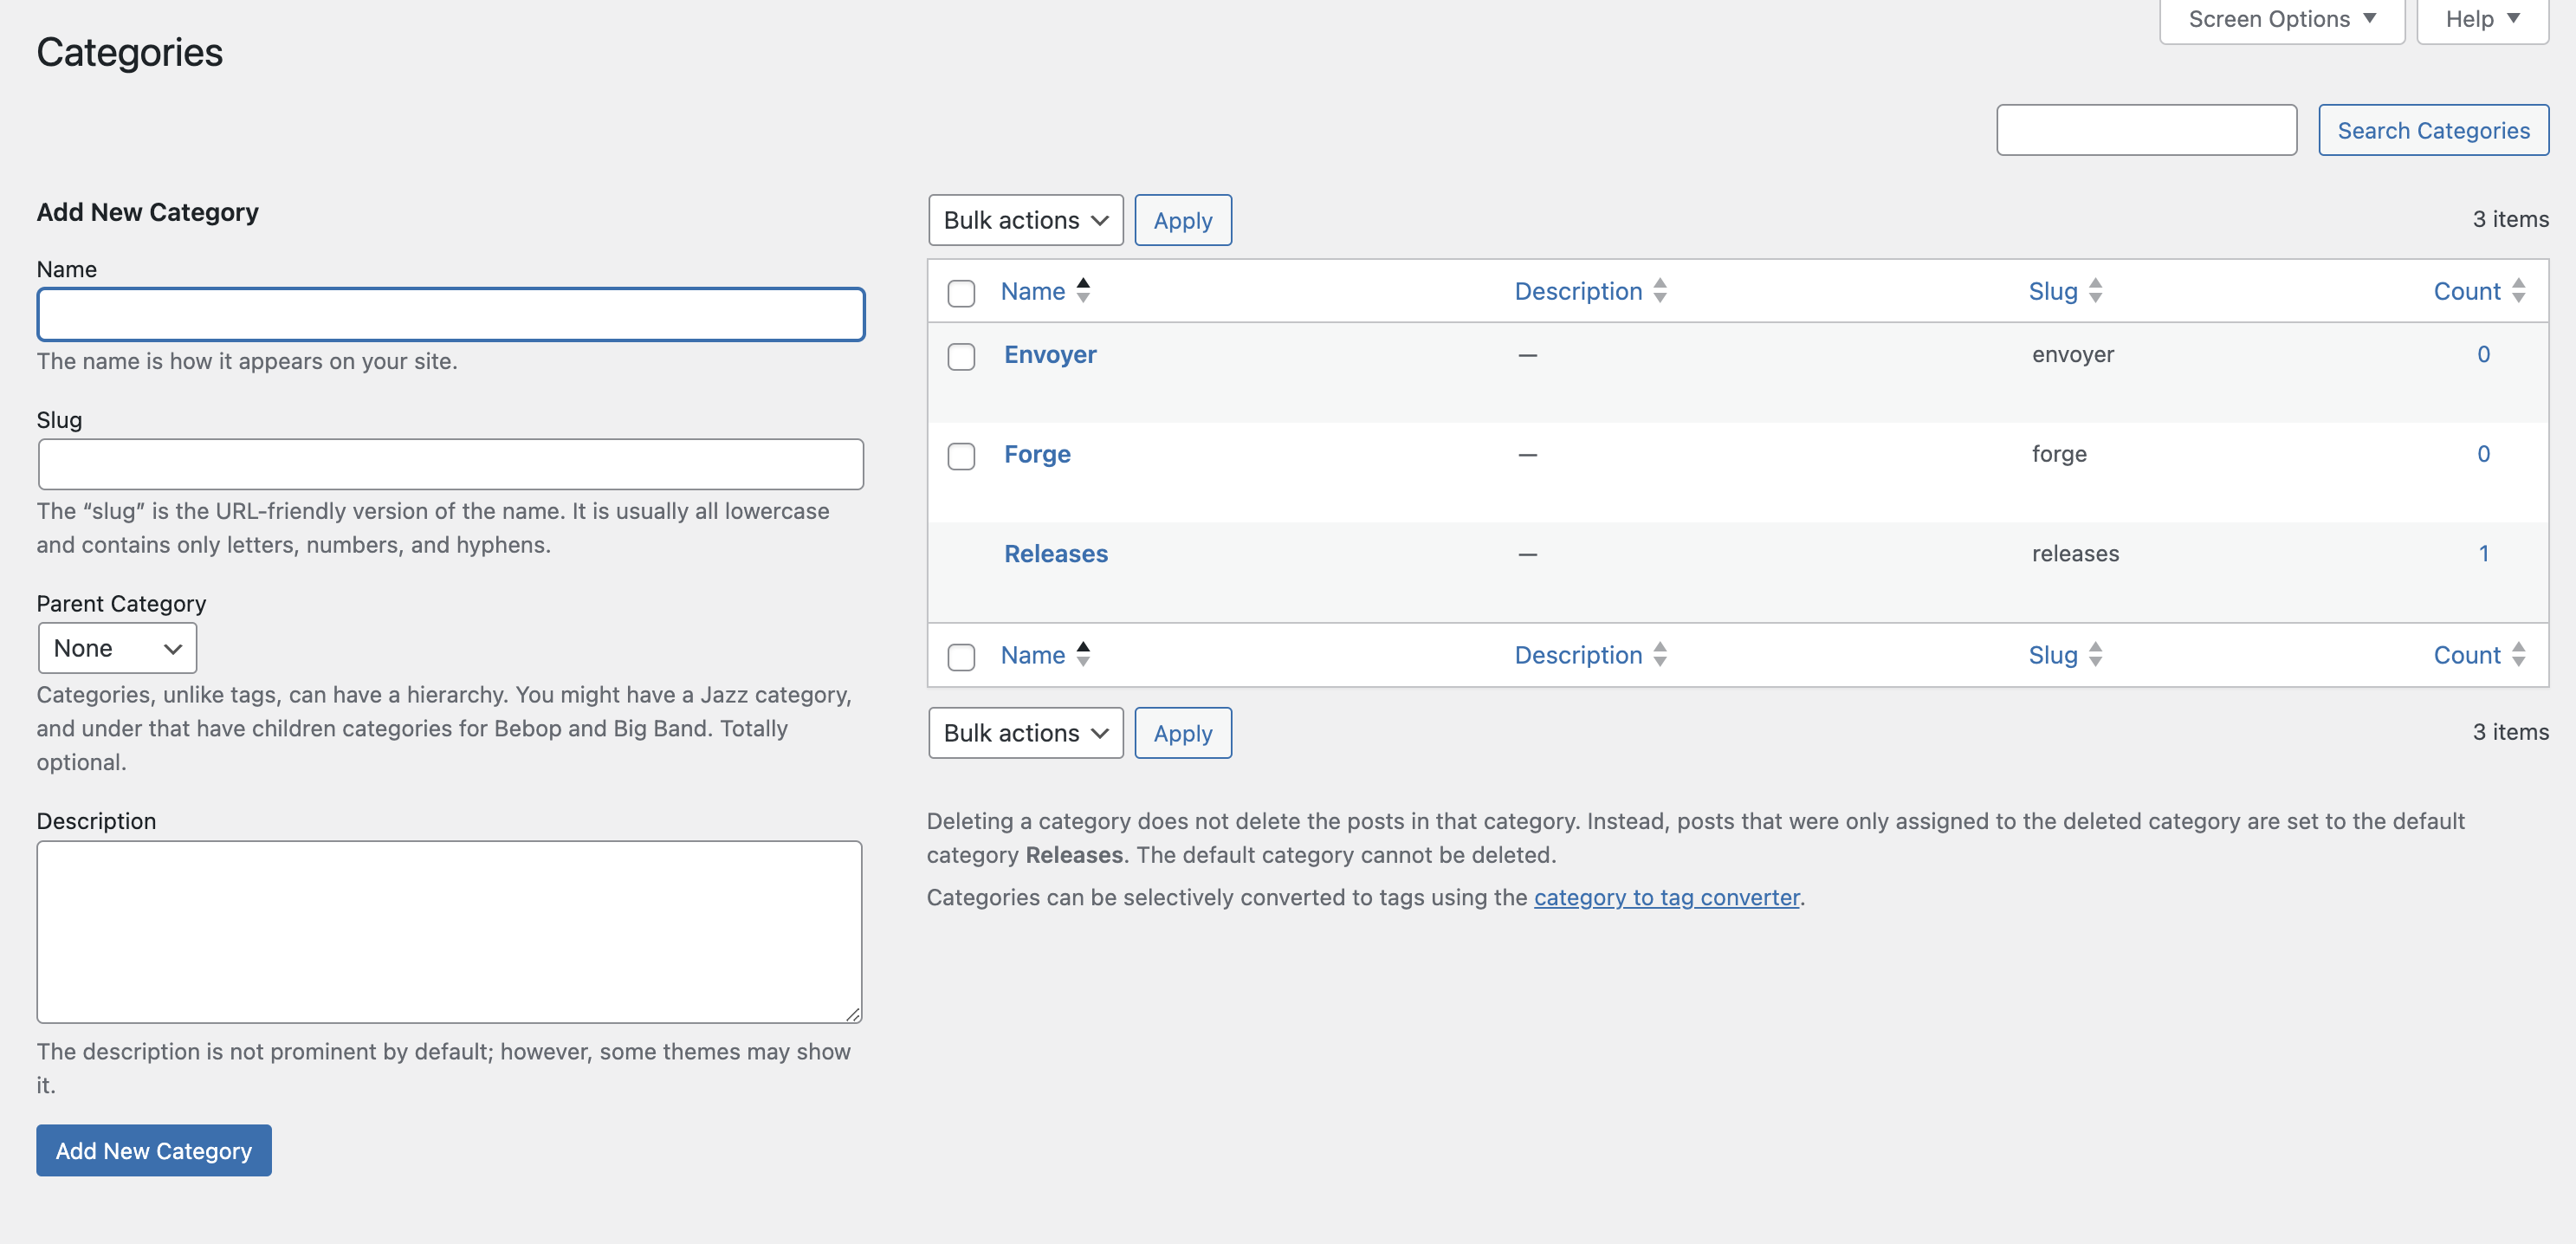
The inspiration for this page is from a WordPress page:
The whole logic is in a custom Filament page. First, the form is initialized in the mount() method.
app/Filament/Pages/Category.php:
public function mount(): void{ $this->form->fill();}Then, the form has a name field that is live but only on blur. After the state is updated, a slug is generated from its state and set to a slug field.
The select field have options set manually. When options are in closure after the form is saved, the options are reloaded.
app/Filament/Pages/Category.php:
use Filament\Schemas\Schema;use Illuminate\Support\Str;use Filament\Forms\Components\Select;use Filament\Schemas\Components\Section;use Filament\Forms\Components\Textarea;use Filament\Forms\Components\TextInput;use Filament\Schemas\Components\Utilities\Set; public function form(Schema $schema): Schema{ return $schema ->components([ Section::make() ->schema([ TextInput::make('name') ->required() ->live(onBlur: true) ->afterStateUpdated(function (string $state, Set $set): void { $set('slug', Str::slug($state)); }), TextInput::make('slug') ->required(), Select::make('parent_id') ->label('Parent Category') ->options(fn() => \App\Models\Category::whereNull('parent_id')->pluck('name', 'id')), Textarea::make('description'), ]), ]) ->statePath('data');}